You’d be surprised how many roof leaks start with one overlooked detail: flashing. We saw it firsthand last winter after a fast-moving storm hit Orange County. A homeowner called about ceiling stains—turns out their roof flashing hadn’t been inspected in years. The flashing around their chimney had cracked just enough to let water in, and the result? Mold, drywall damage, and a hefty repair bill.
All of it could have been prevented.
If you’ve never thought about your flashing, or even knew what it was, no problem. This guide breaks it down clearly—because a small issue today can cost thousands tomorrow.
Here’s what we’re covering:
- Why flashing is one of your roof’s most important waterproofing components
- What flashing actually is, where it fails, and why it matters in Southern California
- What to check before you climb on your roof or call for service
- How to inspect and maintain flashing the right way
- Which flashing materials hold up best in Orange County
- FAQs from local homeowners we hear all the time
Guardian Roofs can help—schedule your inspection today.
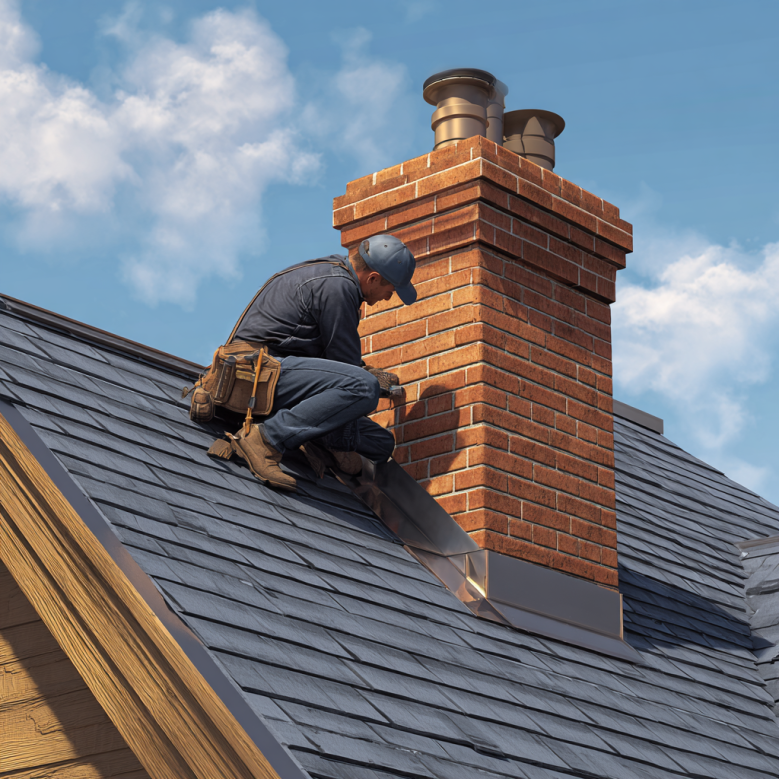
Why Flashing Inspection Matters More Than You Think
Let’s make it simple: flashing protects the spots your shingles can’t. It’s the metal you see (or don’t see) where the roof meets walls, chimneys, skylights, and vents. Without solid, sealed flashing, water has a clear path into your home—even if the rest of the roof looks fine.
In Orange County, that risk is multiplied. Why?
- Salt air near the coast speeds up corrosion
- Hot, dry weather cracks sealants over time
- One good rain exposes every weak point
- Local codes and insurance now require specific flashing types in many areas
If you think your roof is “doing fine,” flashing is often the reason why—and also why things go wrong when it’s ignored.
Before You Inspect Roof Flashing, Know This
We get it—roof work isn’t your everyday task. But whether you’re inspecting it yourself or hiring it out, a few basics go a long way.
1. Budget Realistically
Flashing issues can be minor or turn into full-blown replacement work. Be ready for anything from a $20 tube of sealant to a few hundred for re-flashing a section.
2. Know the Rules
HOAs and city codes often require matching materials or permits for visible flashing changes—especially on chimneys and fascia.
3. Learn the Types
Know what you’re looking for:
- Step flashing (walls)
- Counter flashing (chimneys)
- Valley flashing
- Drip edge
- Vent boots
4. Check Your Warranty
If your roof is under warranty, DIY flashing repairs could void it. Confirm before touching anything. Guardian Roofs offers a 10-year workmanship warranty, and we make sure it’s protected.
5. Don’t Climb Without the Right Tools
If you’re doing this yourself, use safety gear, gloves, roofing sealant, and corrosion-resistant flashing materials. And if you’re not sure? Call a pro.
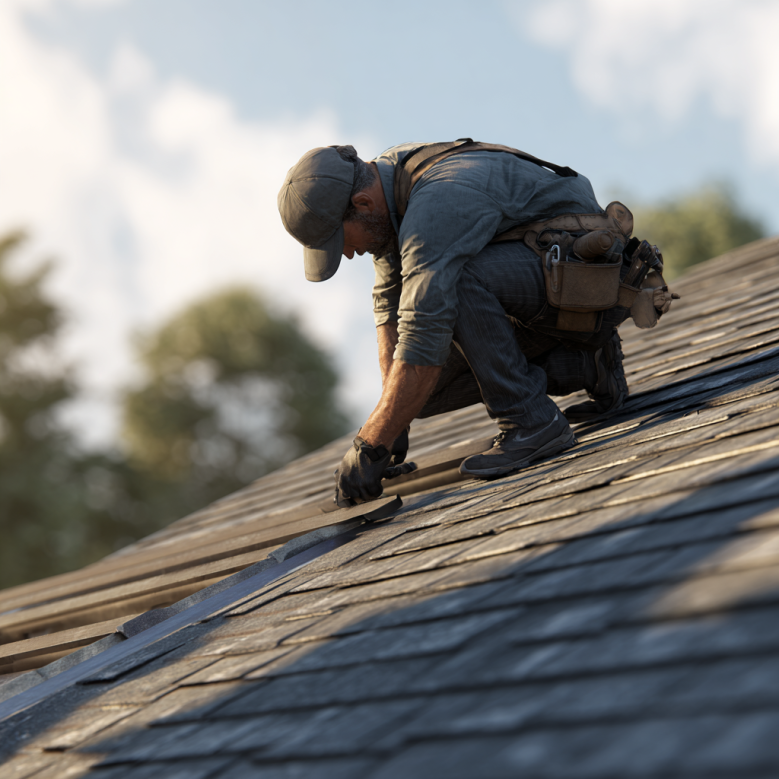
How to Inspect and Maintain Flashing (Without Missing Key Issues)
This isn’t rocket science, but it does need to be done carefully.
Step 1: Start With a Visual Check
Use binoculars or a drone camera to scan for rust, lifting edges, or cracked sealant. If it’s safe to get closer, make sure the flashing isn’t loose or deteriorating.
Step 2: Clear the Area
Debris buildup around flashing traps water. Remove leaves, needles, and dirt that could hide damage or cause pooling.
Step 3: Seal or Replace
Use roofing-grade sealant to close small cracks. If flashing is rusted or bent, replace that section. Overlap and seal all joints properly. Don’t patch over rot.
Step 4: Check Drainage
Ensure that valleys and drip edges guide water into your gutters—not behind the fascia or under shingles.
Step 5: Simulate Rain
Use a garden hose to simulate water flow. If water backtracks or seeps into joints, your flashing isn’t working correctly.
Example: One client caught rusting valley flashing during a pre-winter inspection. We swapped it out in a few hours. That $500 repair saved them from $7,000 in ceiling and drywall damage.
Flashing Materials, Warranties, and Why Orange County Conditions Matter
All flashing isn’t created equal—and in our climate, picking the right one matters.
Common Flashing Materials
| Material | Durability | Best For |
| Galvanized Steel | 15–20 years | Inland homes with moderate weather |
| Aluminum | Rust-resistant | Coastal properties (with coating) |
| Copper | 50+ years | Visible, high-end applications |
| Rubber Boots | ~10 years | Around vent pipes (UV-sensitive) |
What Warranties Actually Cover
- Most manufacturer warranties don’t cover flashing unless it was part of a full system install
- Guardian Roofs includes flashing under our 10-year workmanship warranty for qualifying re-roofs
- Poor flashing is one of the top reasons roof insurance claims get denied—don’t cut corners
What’s Different About Roofing in Orange County?
- Salt air destroys low-grade metals fast
- Sun exposure makes sealants brittle
- Fire-prone zones require code-compliant, flame-resistant materials
- Older roofs often have no step flashing at all—leaks waiting to happen
Orange County Roofing FAQs: Flashing Inspection & Preventing Roof Leaks
Does roof flashing wear out faster than shingles?
Yes, roof flashing typically wears out faster than shingles because it’s installed at the most vulnerable points of the roof—where water, heat, and movement are concentrated. These stressors cause flashing to deteriorate faster than the surrounding roof materials.
Can missing flashing cause slow, undetectable leaks?
Yes, missing flashing can absolutely cause slow, undetectable leaks. Without flashing to seal critical joints, water can enter over time and lead to hidden damage behind walls or ceilings before any obvious signs appear.
Should flashing be inspected differently on tile roofs?
Yes, flashing should be inspected differently on tile roofs because much of it is hidden beneath the tiles. Tile roofs require careful inspection of underlayment and transitions where flashing is more difficult to spot but just as prone to failure.
Can solar panel installations damage roof flashing?
Yes, solar panel installations can damage roof flashing if mounting hardware is installed improperly or if flashing is displaced during installation. It’s always a good idea to schedule a flashing inspection after solar panels are added to your roof.
How can I tell if my flashing is leaking without going on the roof?
You can tell if your flashing is leaking without going on the roof by looking for interior signs such as ceiling stains, peeling paint, musty odors, or wall discoloration near vents, chimneys, or skylights—common leak entry points.
What are the most common locations where flashing fails?
The most common locations where flashing fails include valleys, chimneys, skylights, roof-to-wall intersections, and vent penetrations. These areas experience higher water flow and movement, making them more prone to wear and failure.
When is the best time to upgrade flashing material during roof work?
The best time to upgrade flashing material is during a full roof replacement or major repair. At that point, the roof is already exposed, making it easier and more cost-effective to install premium flashing for longer-term durability.
How often should flashing maintenance be performed?
Flashing maintenance should be performed at least once a year and after any major storm. Regular flashing maintenance helps catch early signs of rust, cracking, or separation—especially in high-risk areas like valleys, chimneys, and roof edges. Consistent upkeep is one of the simplest ways to prevent water damage and extend the life of your roof.
Final Thoughts
Here’s the bottom line: if your roof flashing is cracked, rusted, or missing, it doesn’t matter how new your shingles are. Water’s going to find a way in.
The good news? You don’t have to guess. At Guardian Roofs, we’ve spent 36 years catching the stuff others miss—and fixing it the right way. Our licensed pros know how to spot early warning signs and recommend real fixes, not patch jobs.
Whether you need a quick inspection or a full flashing upgrade, we’ve got you covered.
Schedule your free roof inspection today and protect your home before the next leak starts.